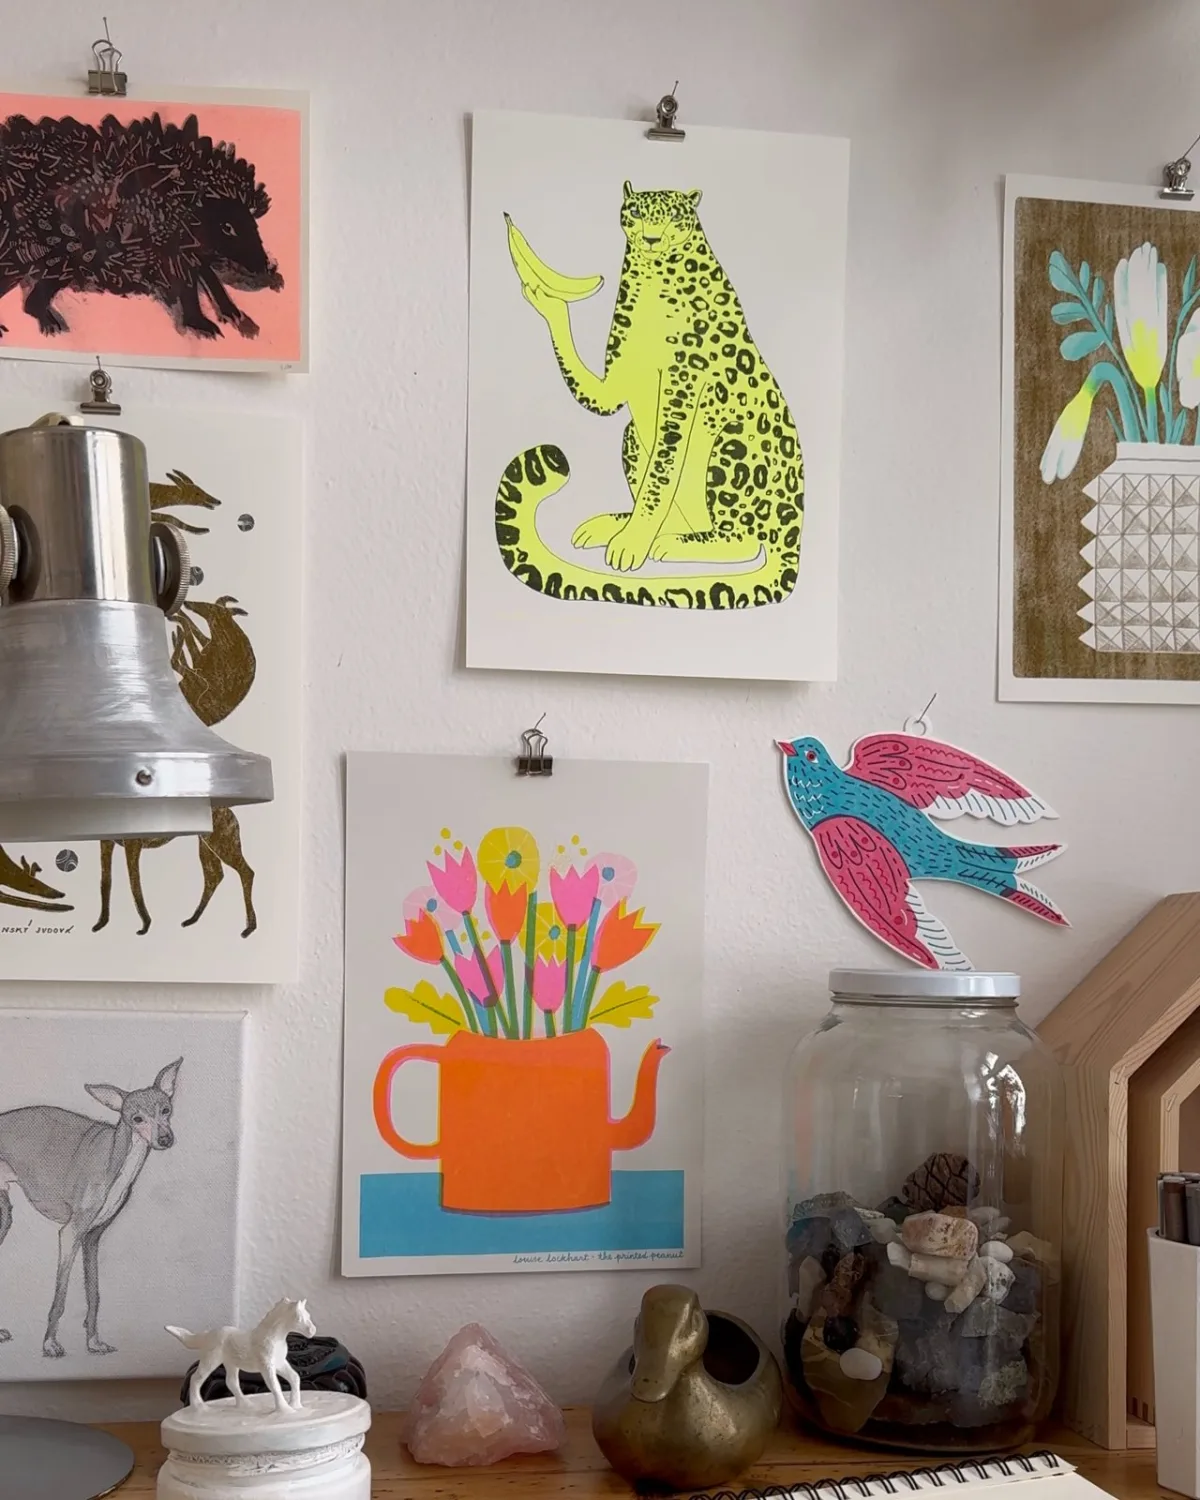
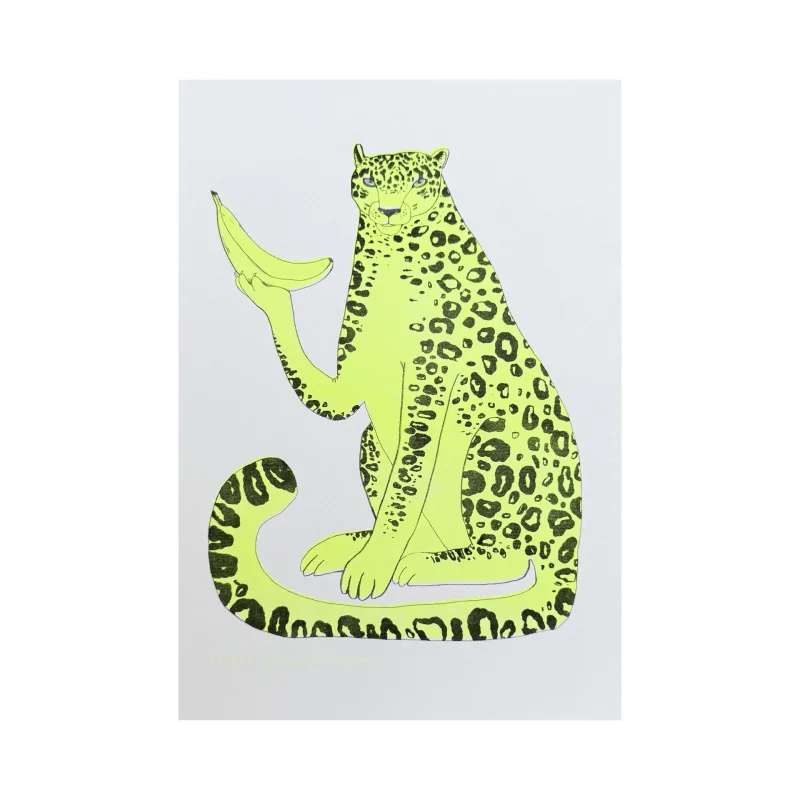
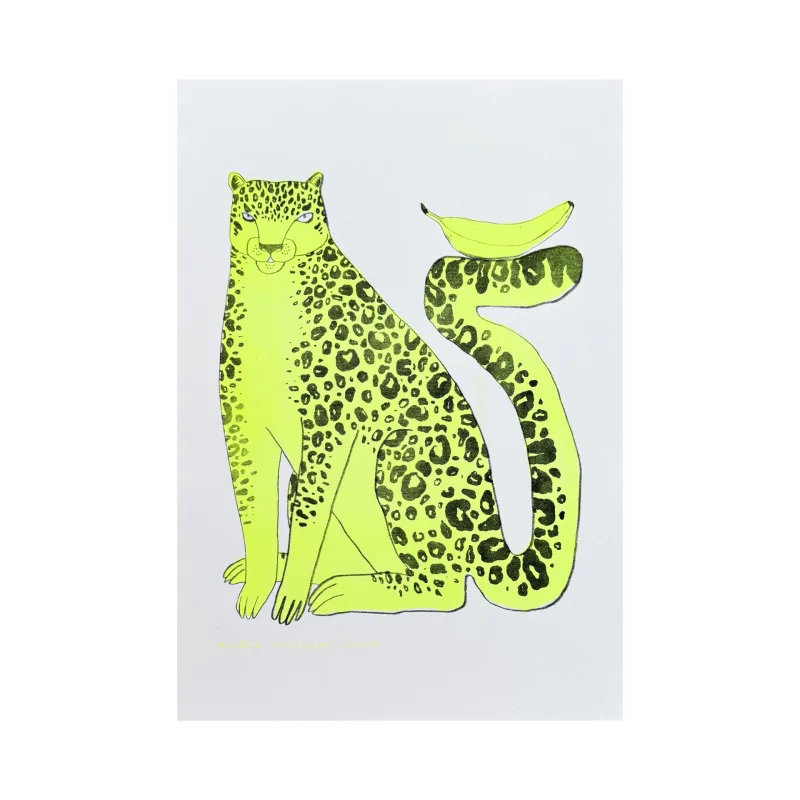
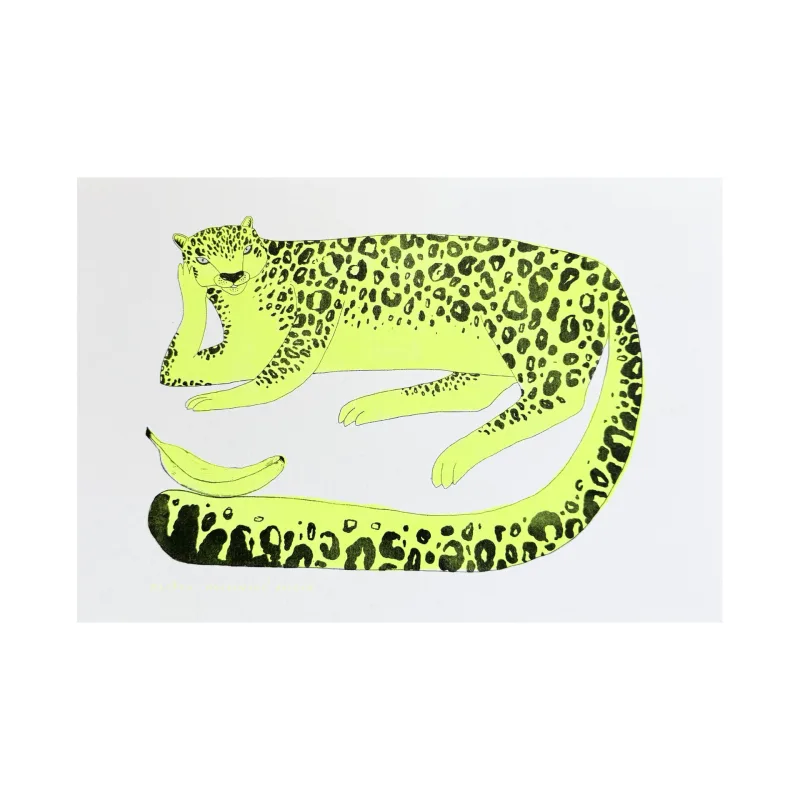
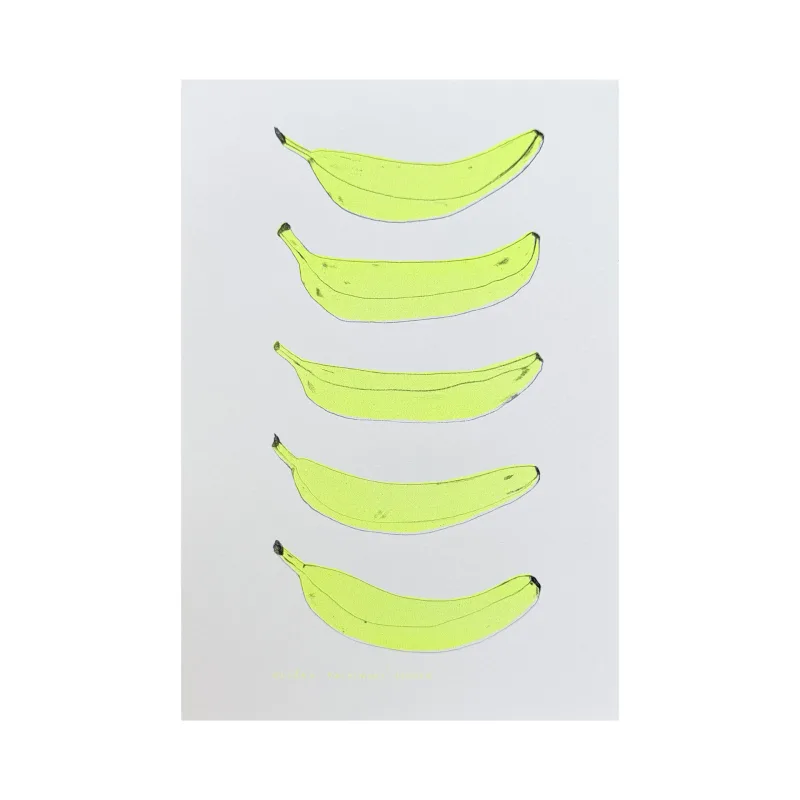
Leopard with bananas: how a two-colour riso poster is made
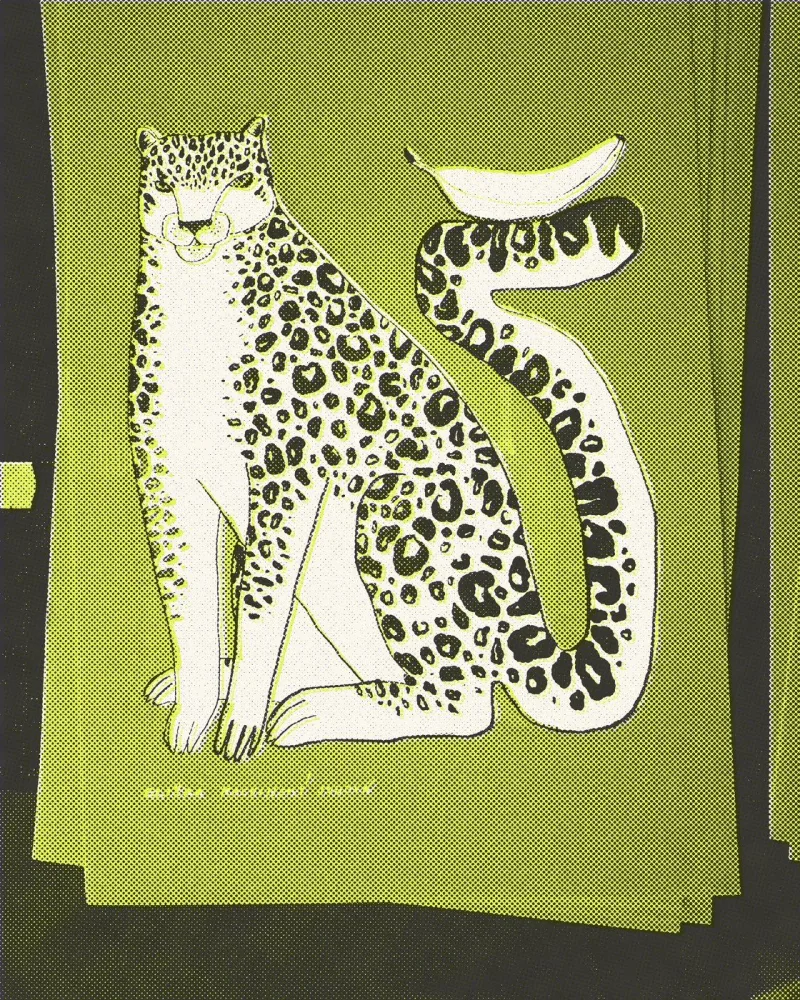
The banana leopard is one of the posters people ask me about most. It is printed in just two inks, fluorescent yellow and black, and still glows across the room.
The last time I printed it, I took my phone and filmed how it comes together, from the computer to the studio wall.
1. One file per colour
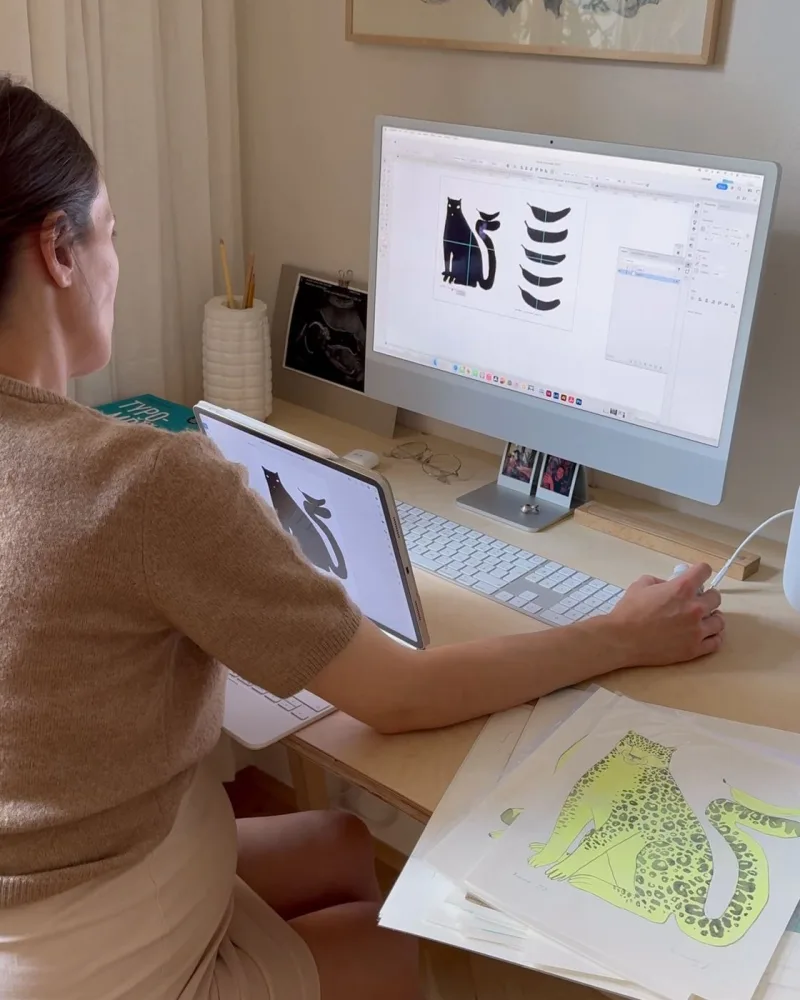
Before printing, I split the drawing into colours. Each colour gets its own greyscale file: black takes the outlines and spots, yellow the body and the bananas.
The risograph knows nothing about colour. It only prints where there should be more or less ink, and the colour is decided by the drum I put in.
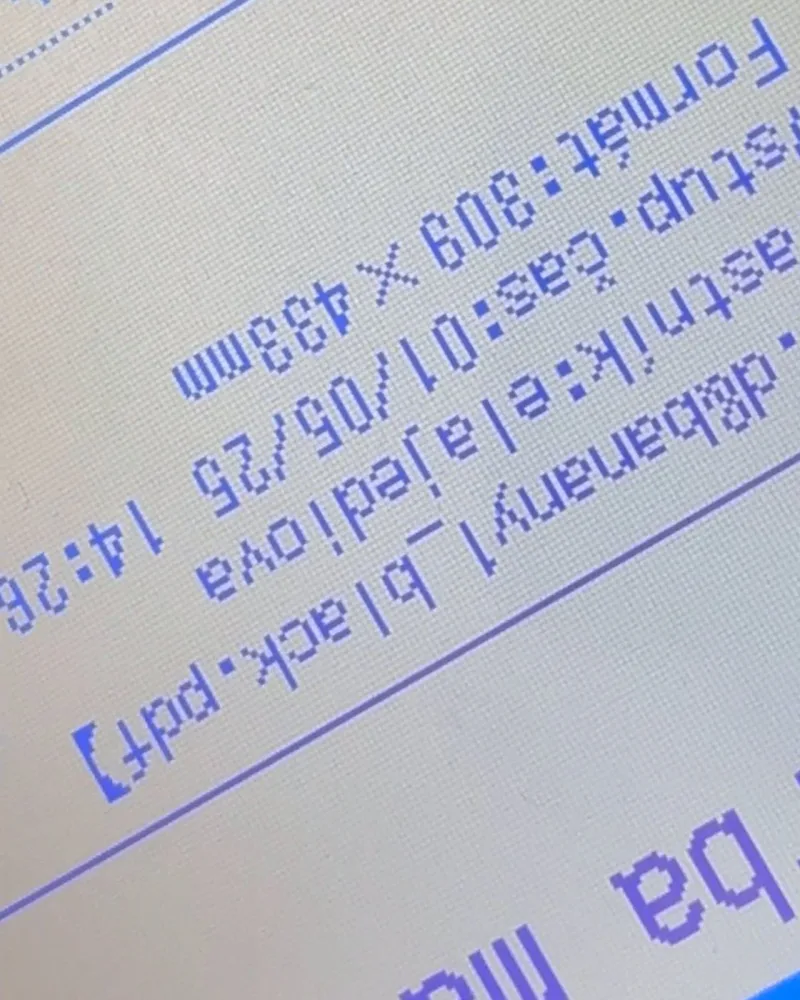
I print on 309 × 433 mm sheets, a bit bigger than A3. The leopard and the row of bananas fit side by side on one sheet, and I only separate them at the end.
2. Yellow first
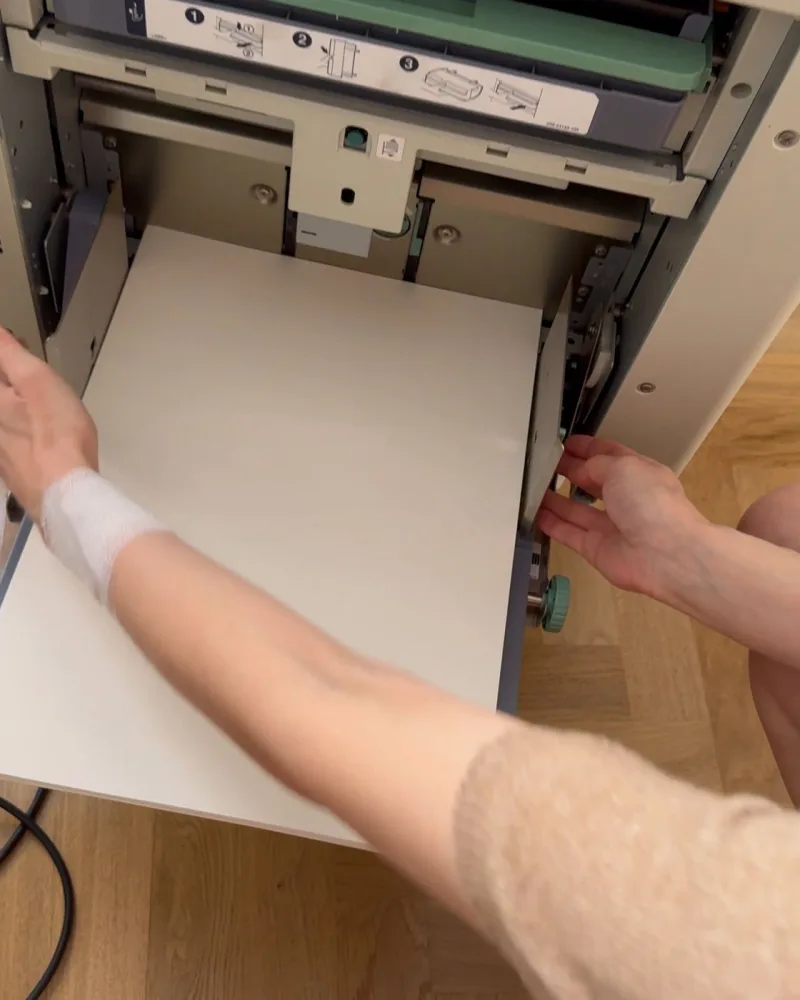
I fan the paper so the sheets do not stick together and square it in the feed tray. I type in the number of copies and the machine makes a master from the yellow layer.
I always start with the lighter colour. If something goes wrong, it is easier to hide under yellow than under black.
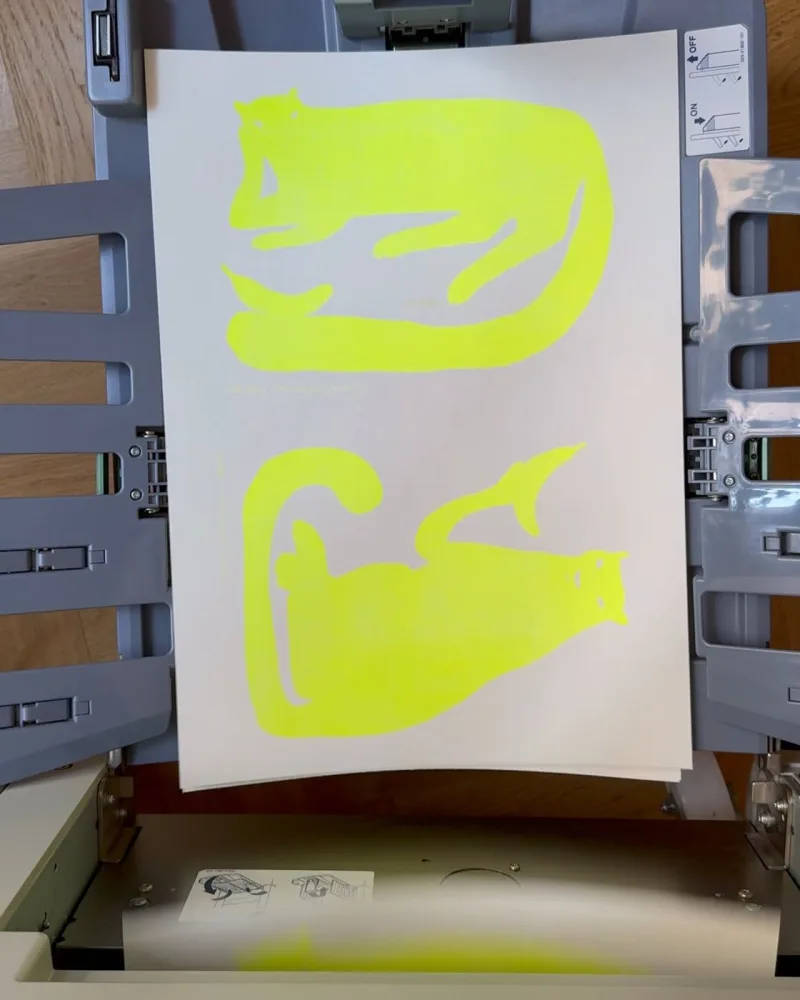
3. Drying
Riso ink soaks into the paper and dries slowly. If I printed the second colour straight away, the yellow could smudge or transfer where it should not. So I let the sheets rest for a while, and when I am in a hurry, I use a hair dryer.
4. Black on top
I swap the drum for the black one, make a master from the black layer and put the printed sheets back in the feed tray. Only now do I see whether the registration works, whether the spots land where they belong.
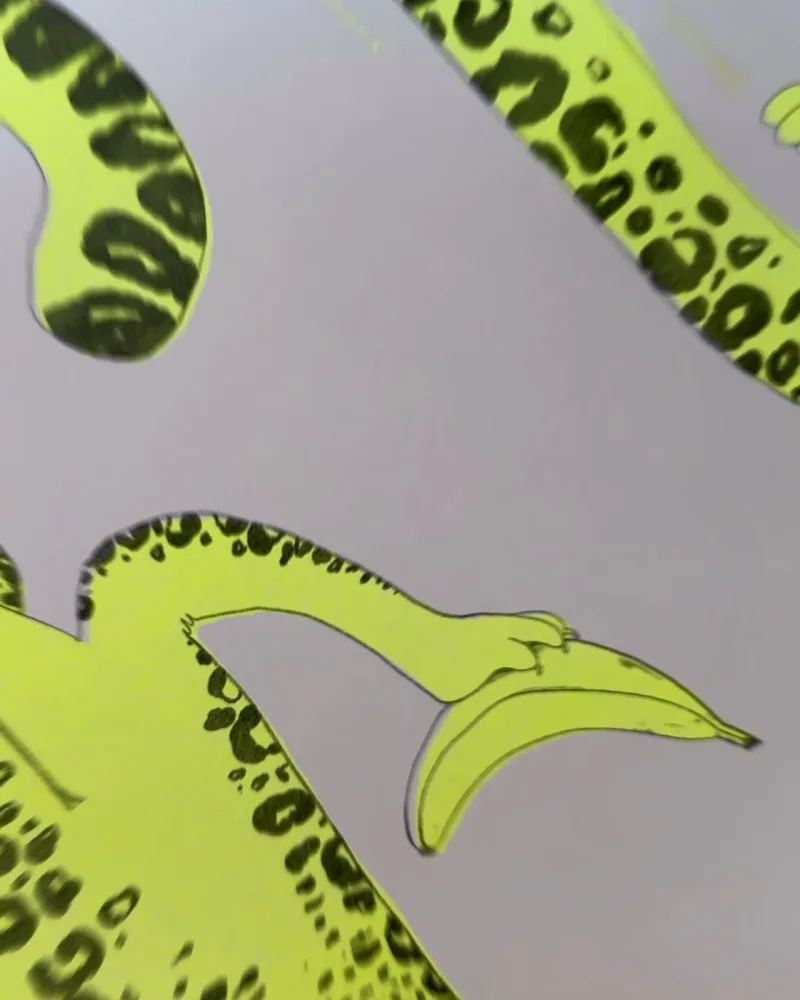
5. Trimming, and done
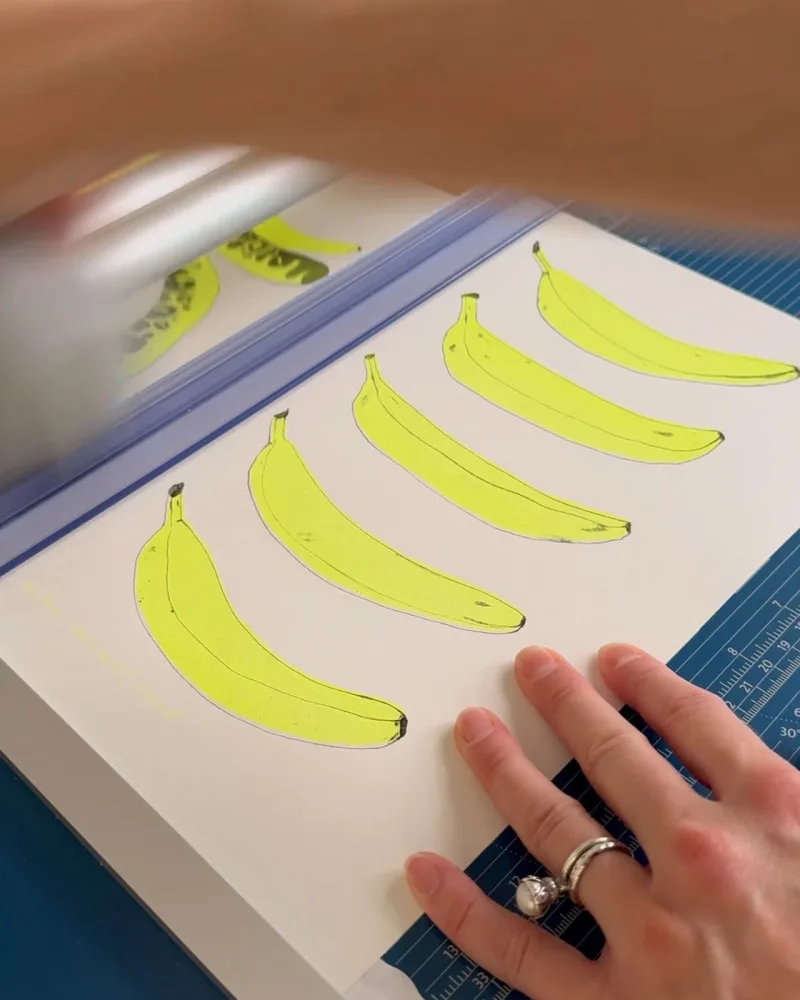
Each sheet becomes two posters: the leopard and the bananas. Then I sign them and stack them up.
The first one always gets pinned to the studio wall, so I know it is finished.