Skip to content
Eliška Kacvinský Judová

From the studio

Civets on a top: Riso MiScreen A4
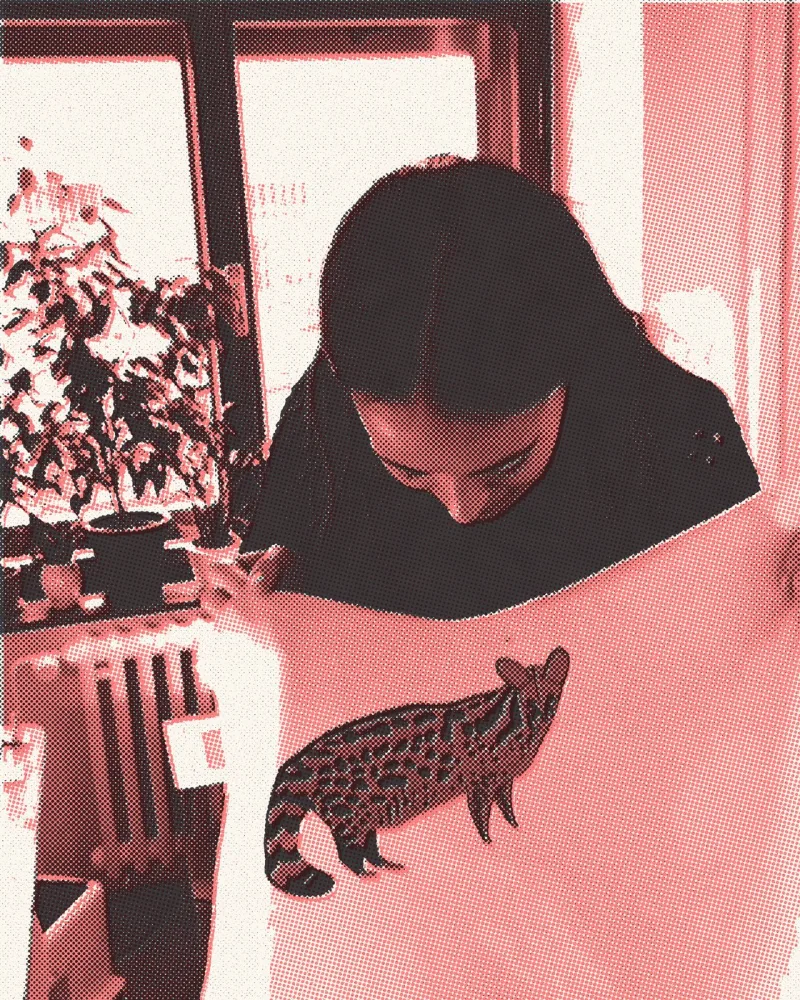
Eliška holding a printed piece of fabric with a civet, in riso style

This time I printed on fabric instead of paper. A risograph can't do that, so I took out its smaller cousin, the Riso MiScreen A4, a machine for making screen printing stencils.

The civet ended up on a top I now wear. Here is the whole way from the drawing to the sewing machine.

1. A drawing in two layers
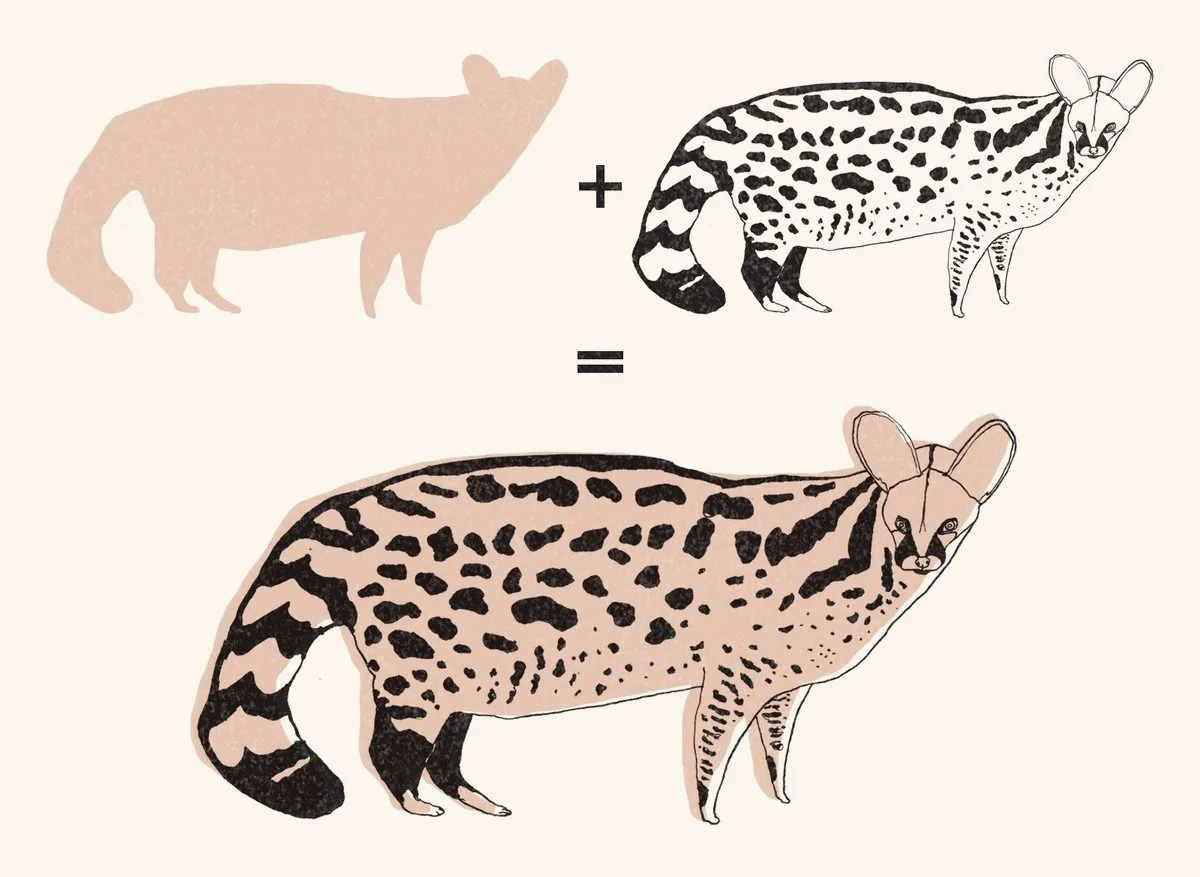
The pinkish brown civet silhouette plus the black drawing with spots make the finished civet
Silhouette plus black drawing. Each layer is one screen and one colour.

First I drew the civet and split it into two layers: a solid silhouette underneath and the black drawing with the spots on top. Just like with riso posters, every colour needs its own stencil.

2. A stencil from the MiScreen

I send the drawing from the computer to the MiScreen, and in a moment it burns it into a fine mesh stretched in a frame. It works much like making a master in the risograph.

No exposure chemicals or washing out like in classic screen printing. A few minutes and I have both stencils.
The framed screen runs through the MiScreen and the drawing is burnt into it.
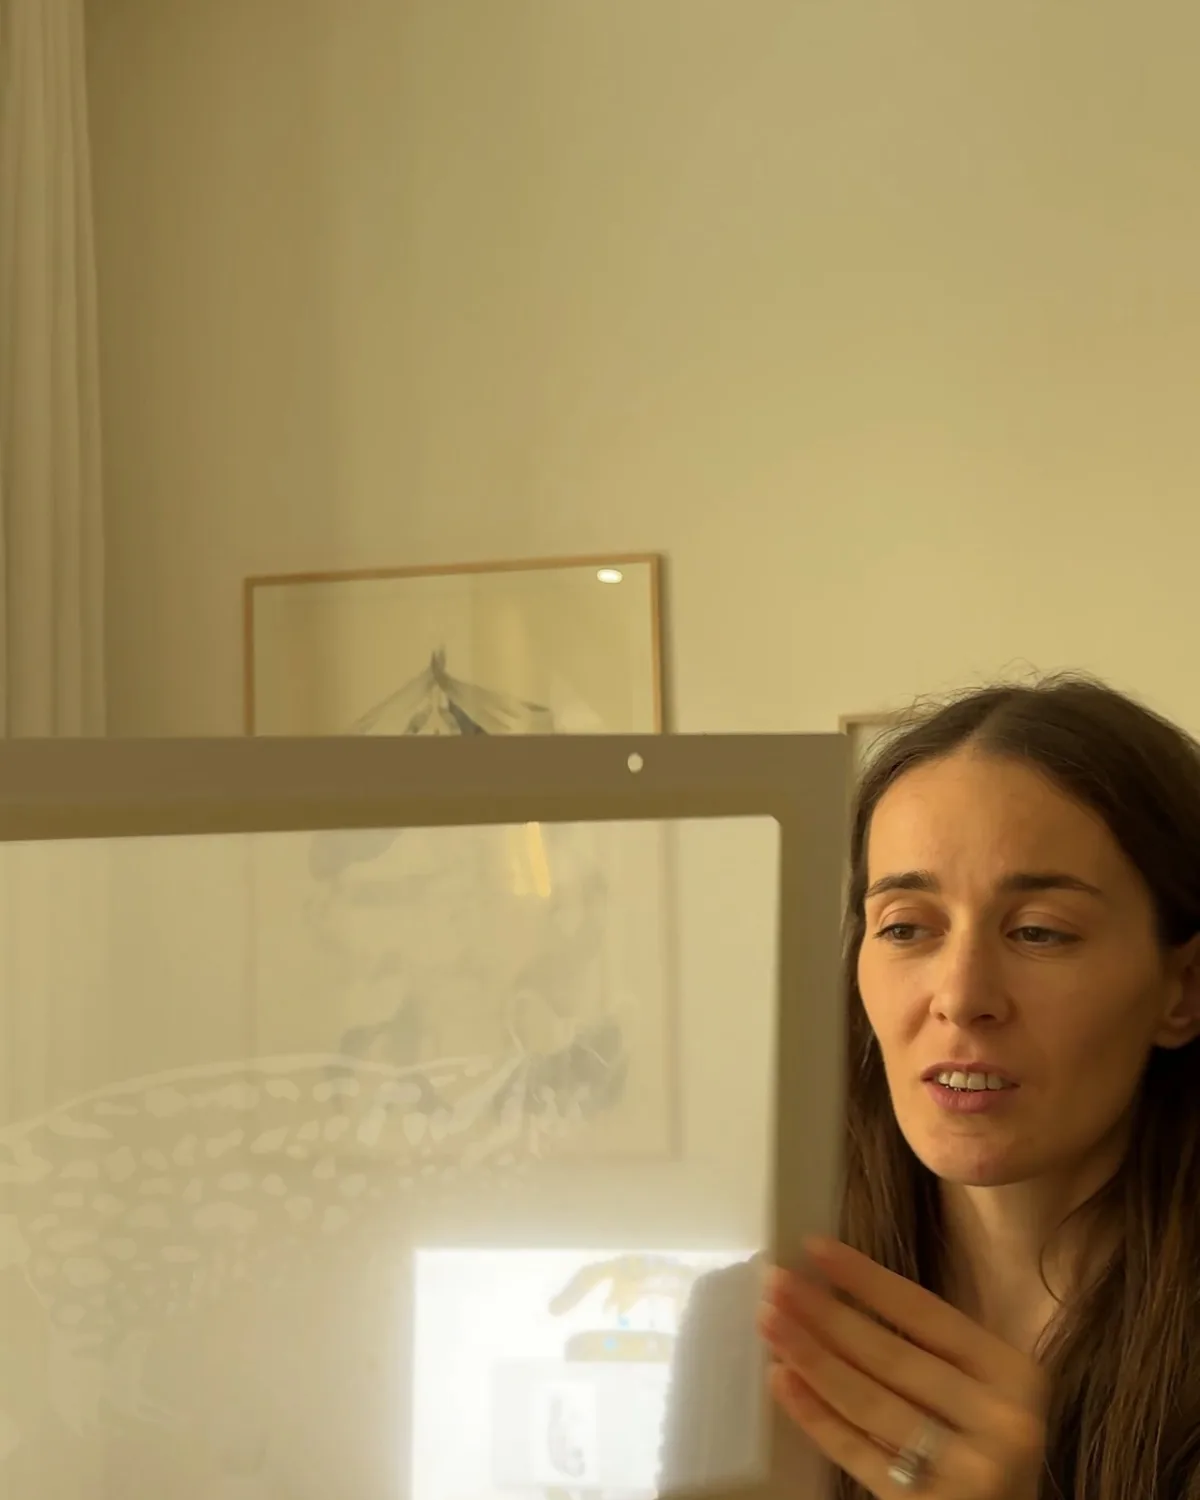
Eliška holding the screen with the burnt-in civet against the light
The finished screen against the light. Where it lets light through, the ink goes through.

3. A colour of my own

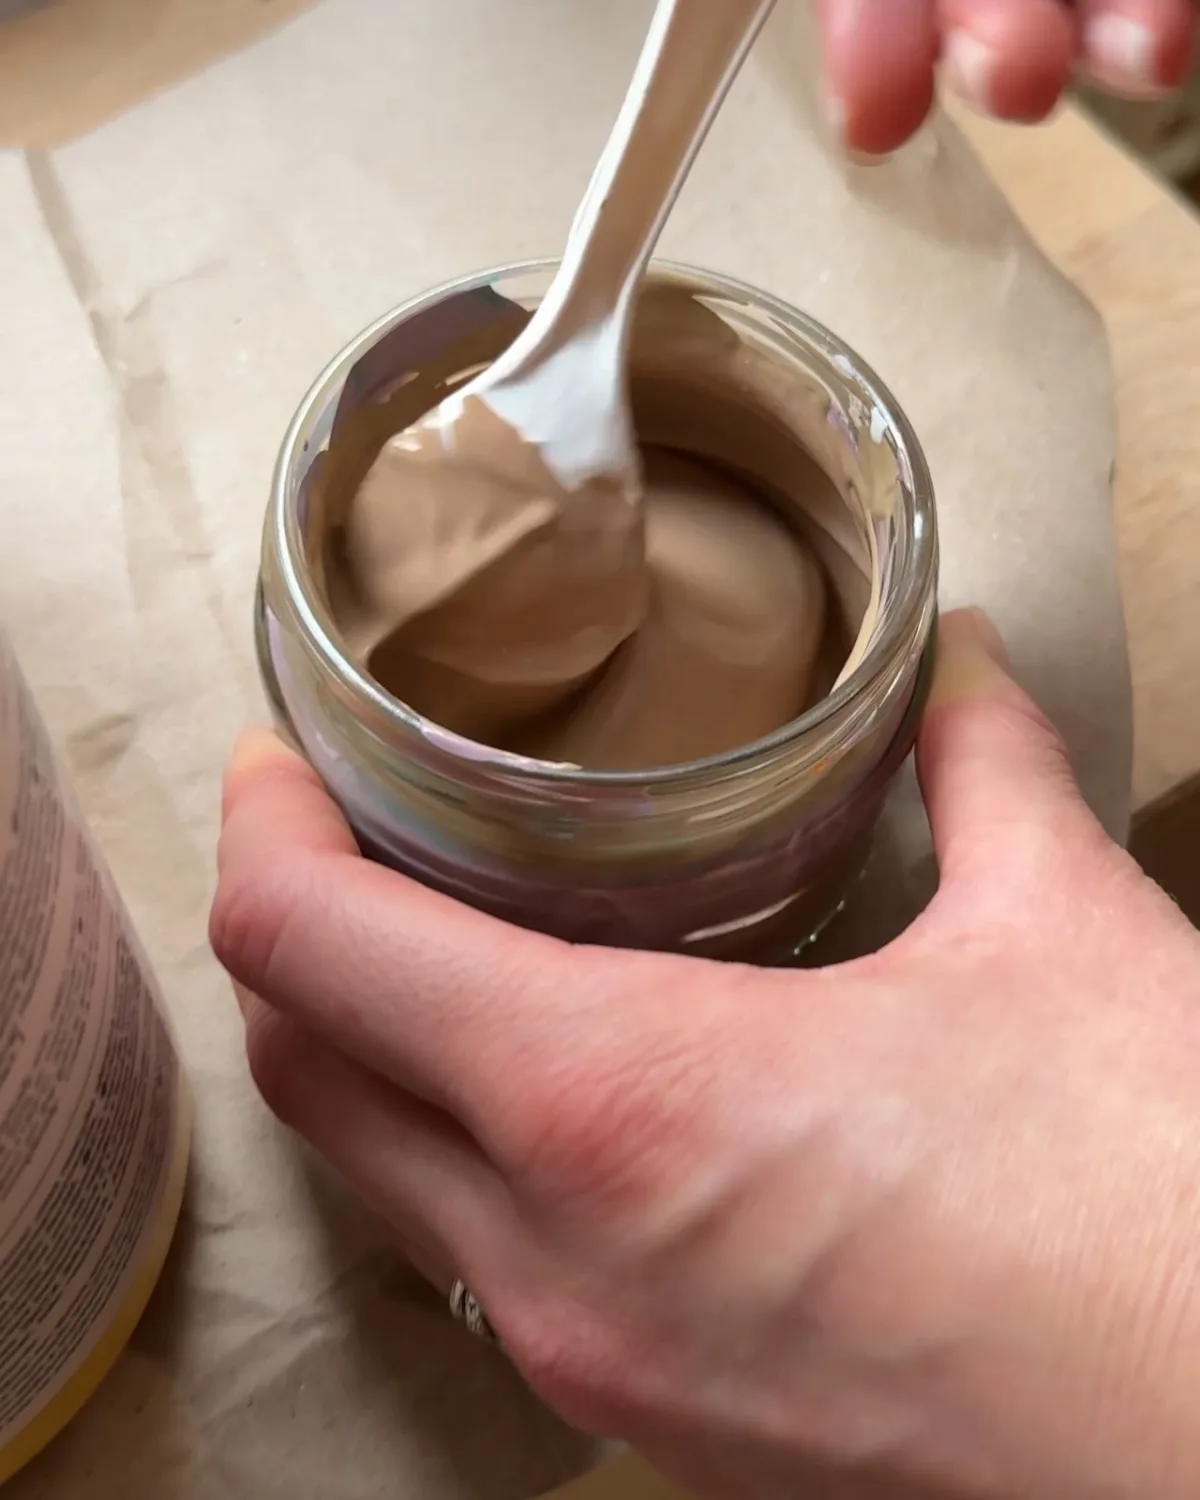
Mixing a pinkish brown textile ink with a spoon in a jar

On fabric I use inks made for textiles. Unlike risograph inks these can be mixed, so I mixed the warm pinkish brown of the civet myself from a few colours.

4. The first layer
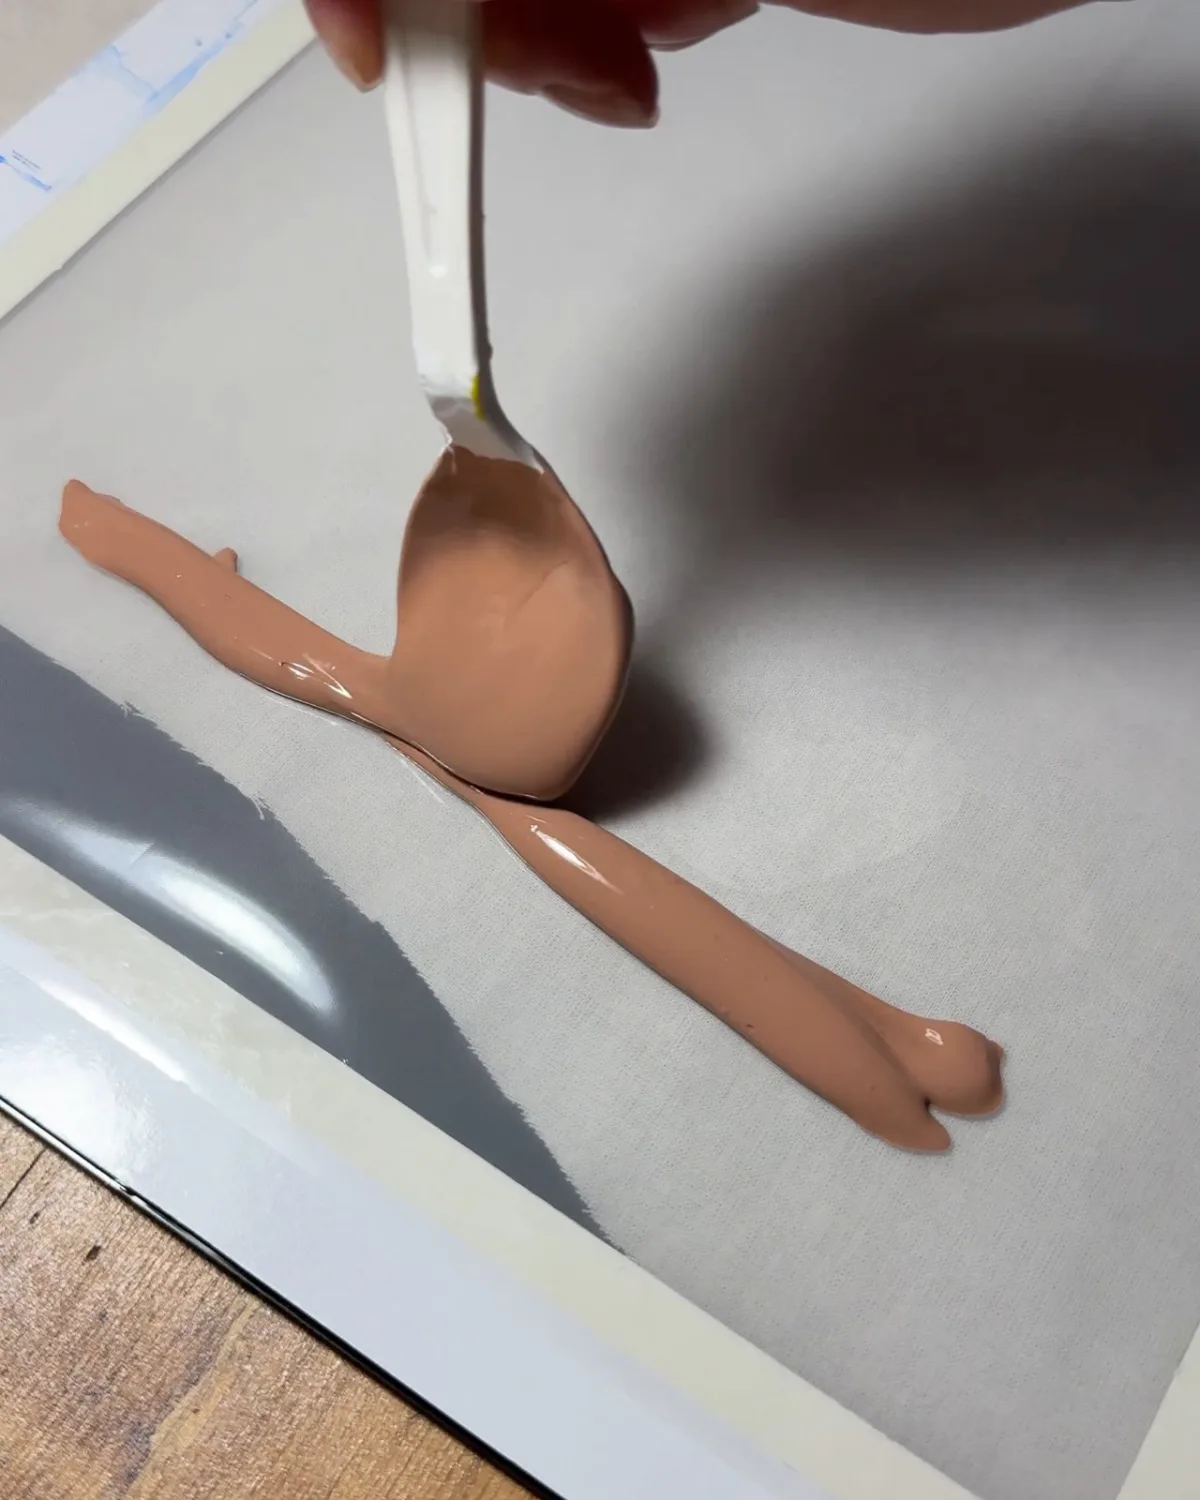
Spooning ink along the edge of the screen
I spoon the ink along the edge of the screen.
A pull of the squeegee pushes it through the screen, I lift it and the silhouette is on the fabric.
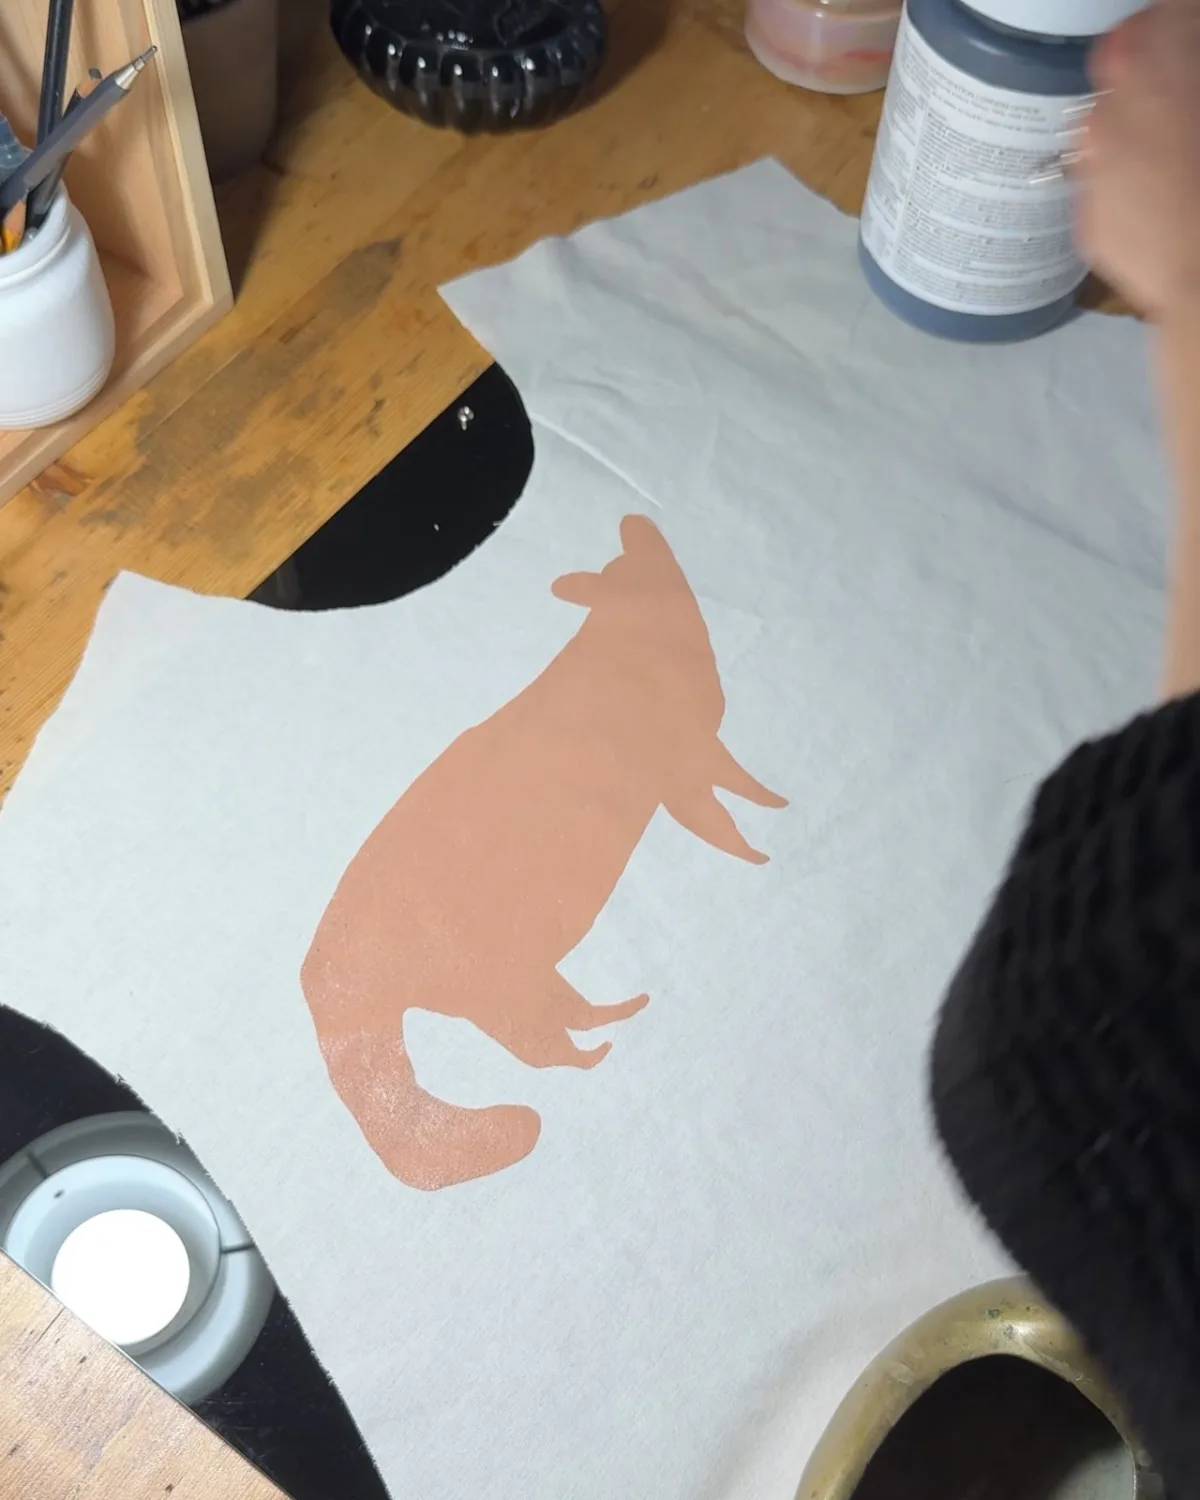
The pinkish brown civet silhouette printed on a cut piece of fabric
The silhouette on a piece of the future top.

I print straight onto the cut pieces, before sewing them together. That way I know exactly where the civets will sit on the top.

5. Black on top
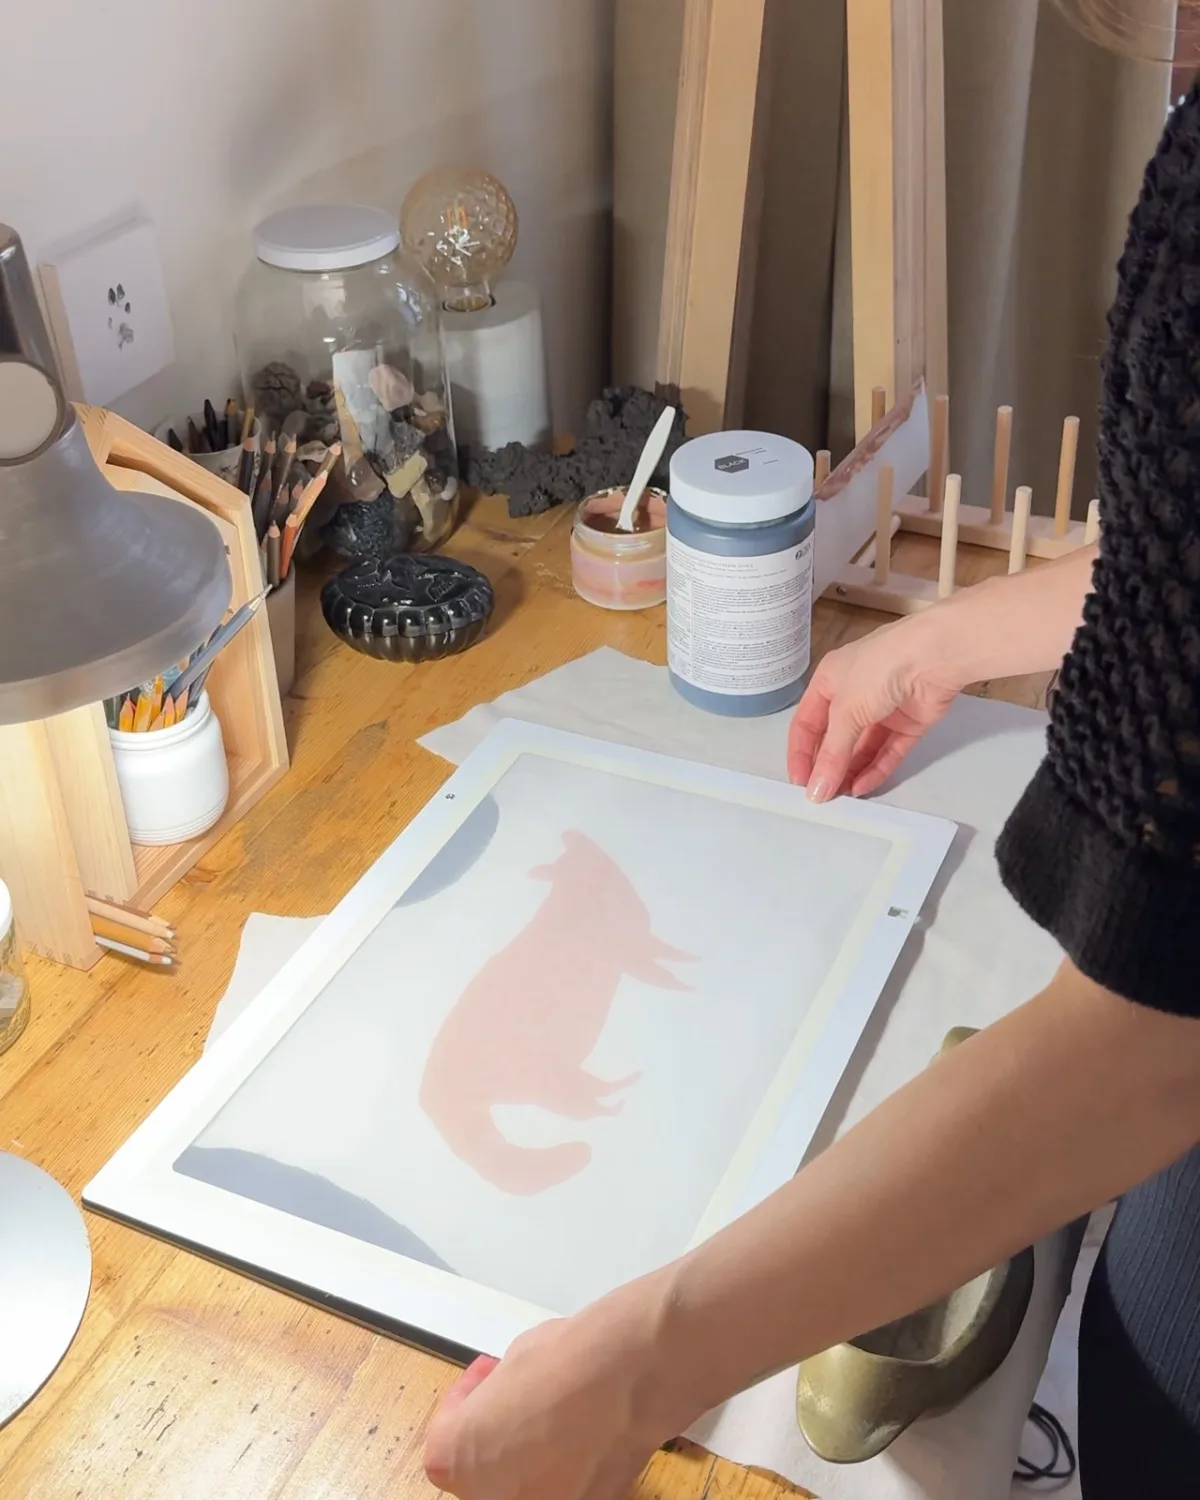
Placing the second screen exactly over the printed silhouette
The second screen has to go exactly over the silhouette.
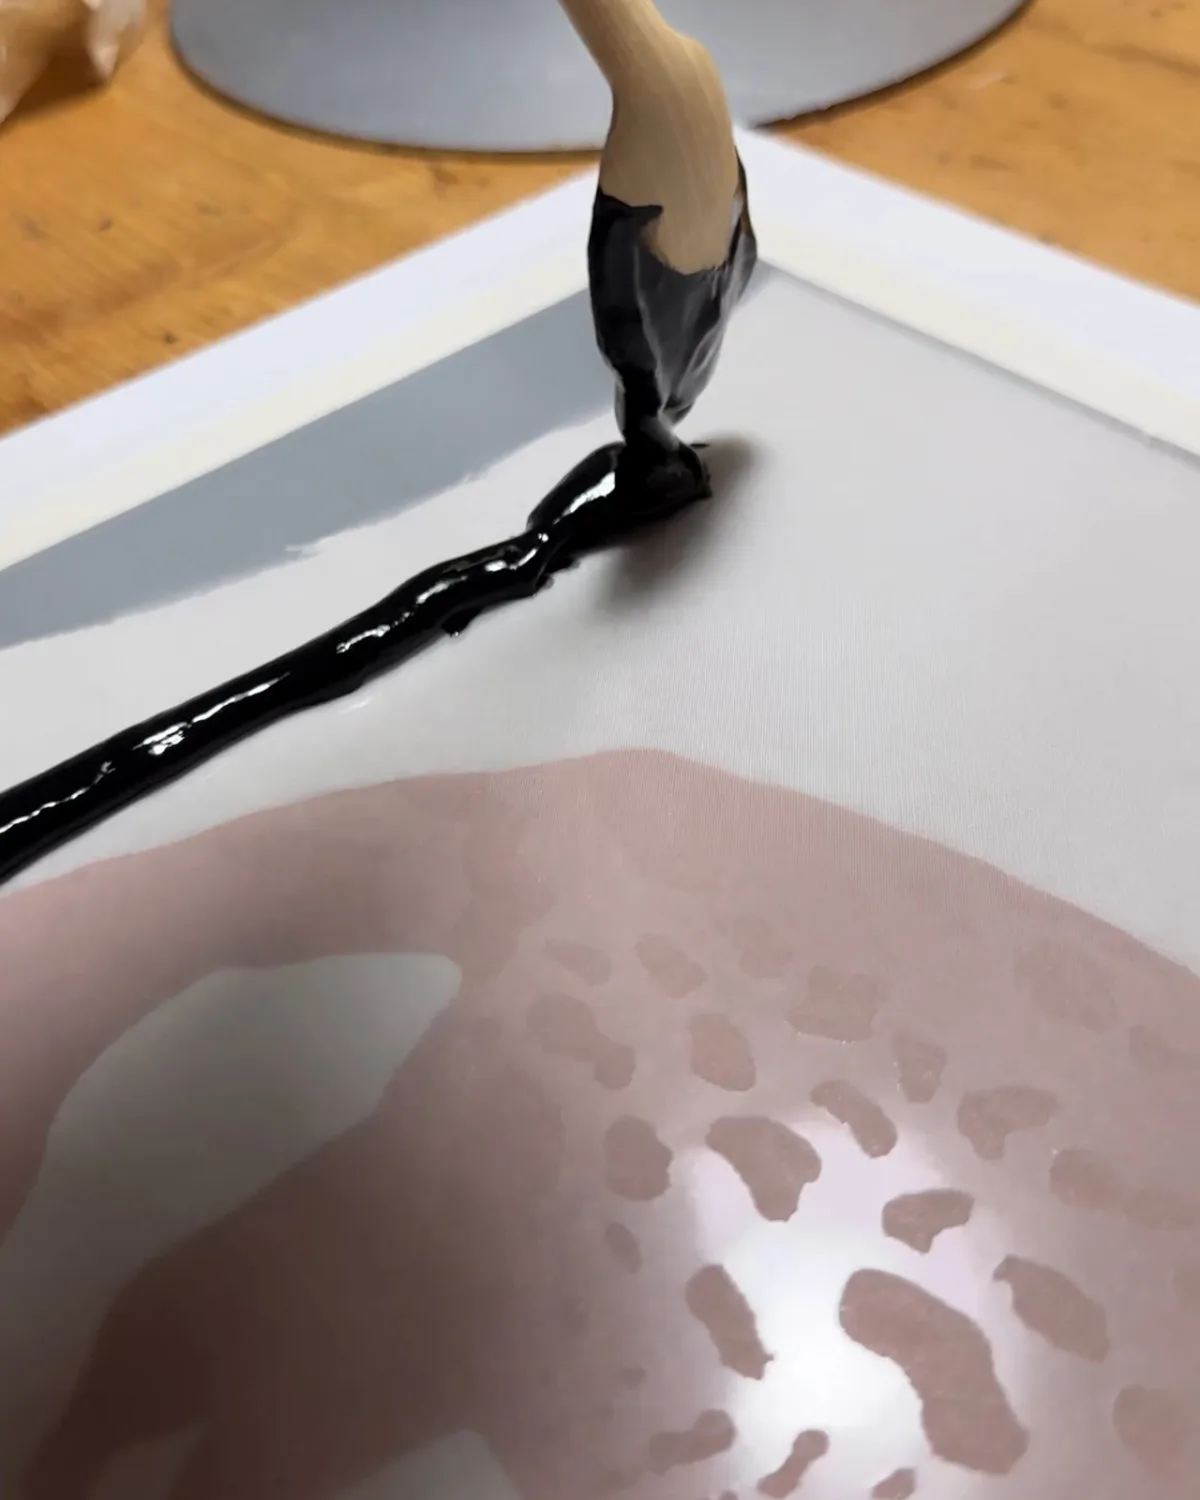
Black ink on the screen above the civet silhouette
Black goes on top: outlines, spots and the striped tail.
The best moment: I lift the screen and the civet is done.
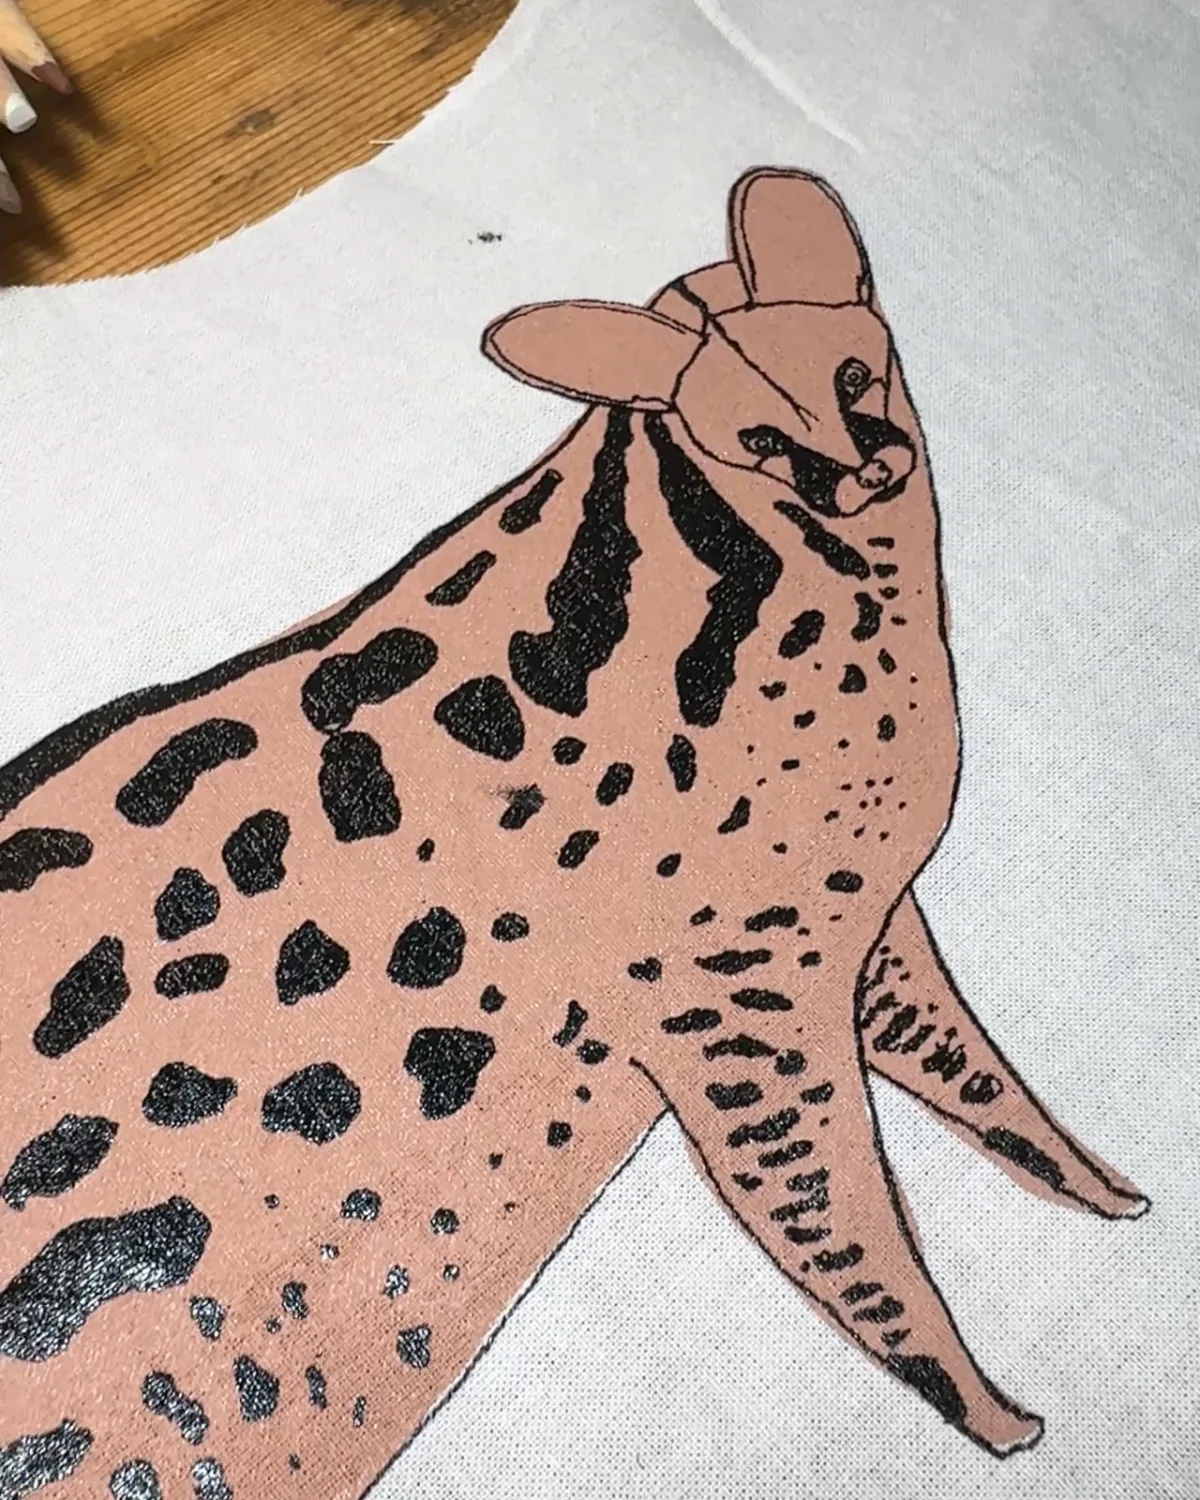
Close-up of the civet: the black drawing over the pinkish brown silhouette
Up close you can see the black never lands exactly in place. Just like on riso posters, that is the loveliest part.

6. Sewing

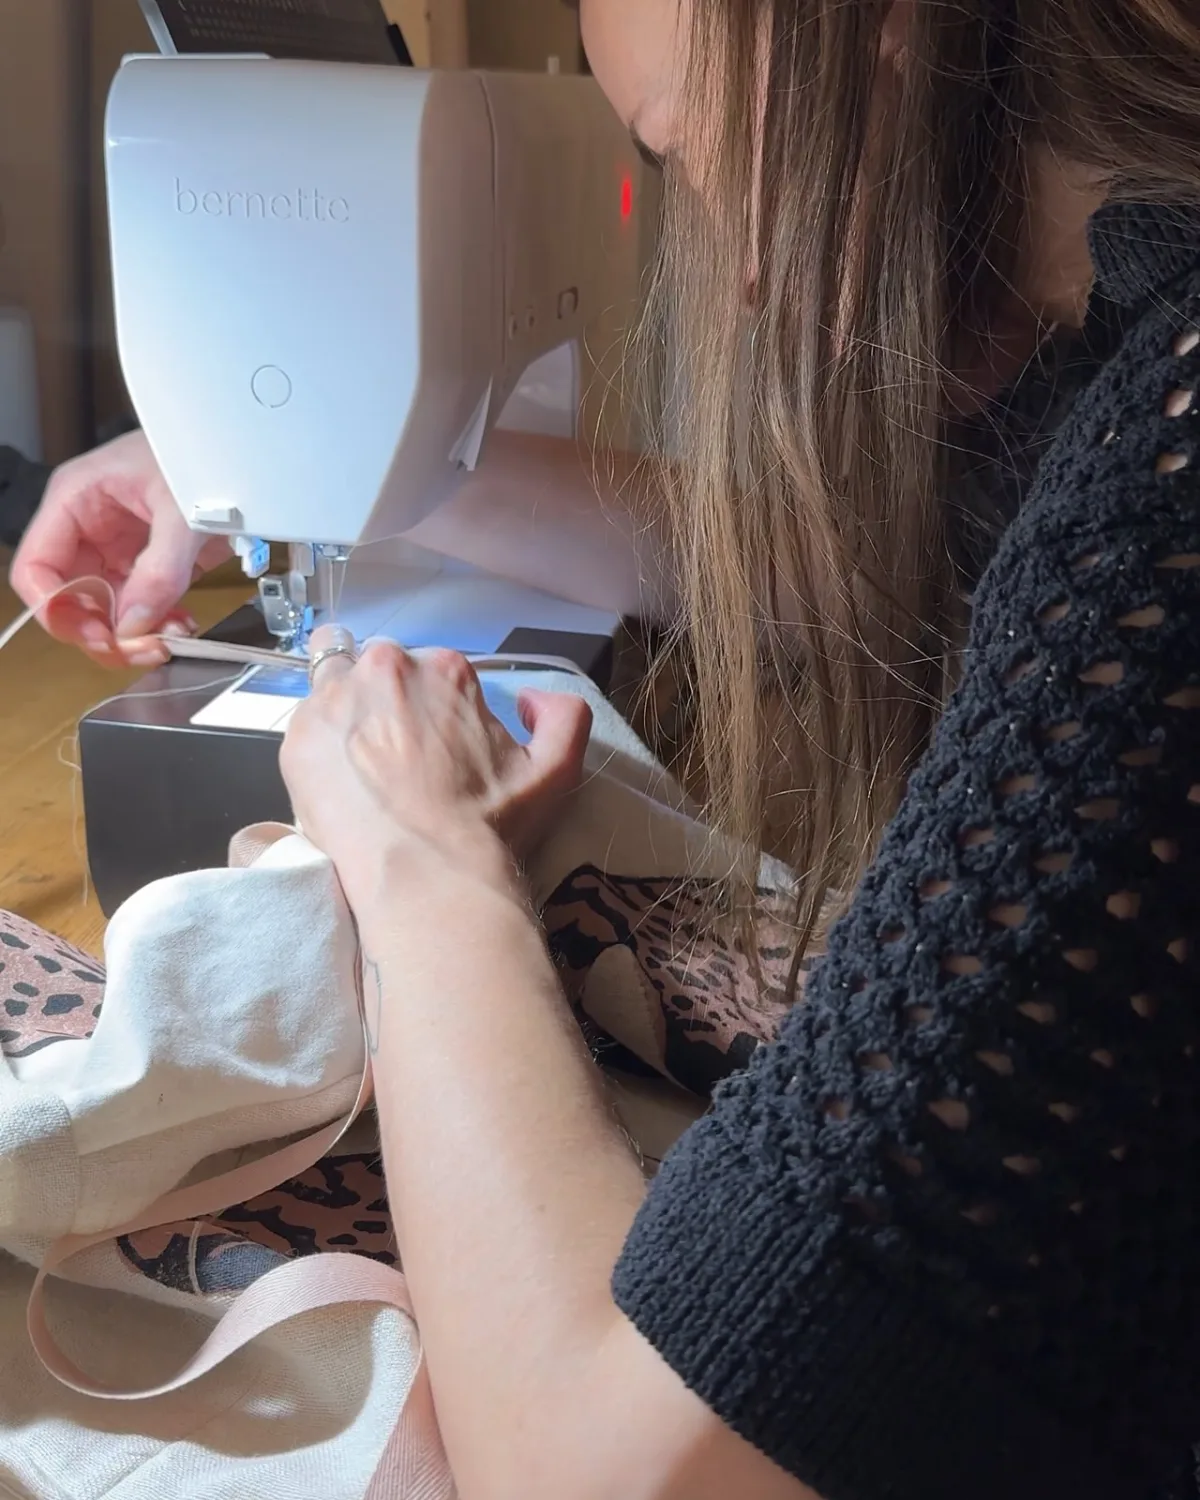
Eliška sewing the printed pieces on a sewing machine

Finally I sewed the printed pieces together on the sewing machine. Every civet came out a little different, so the top is one of a kind.
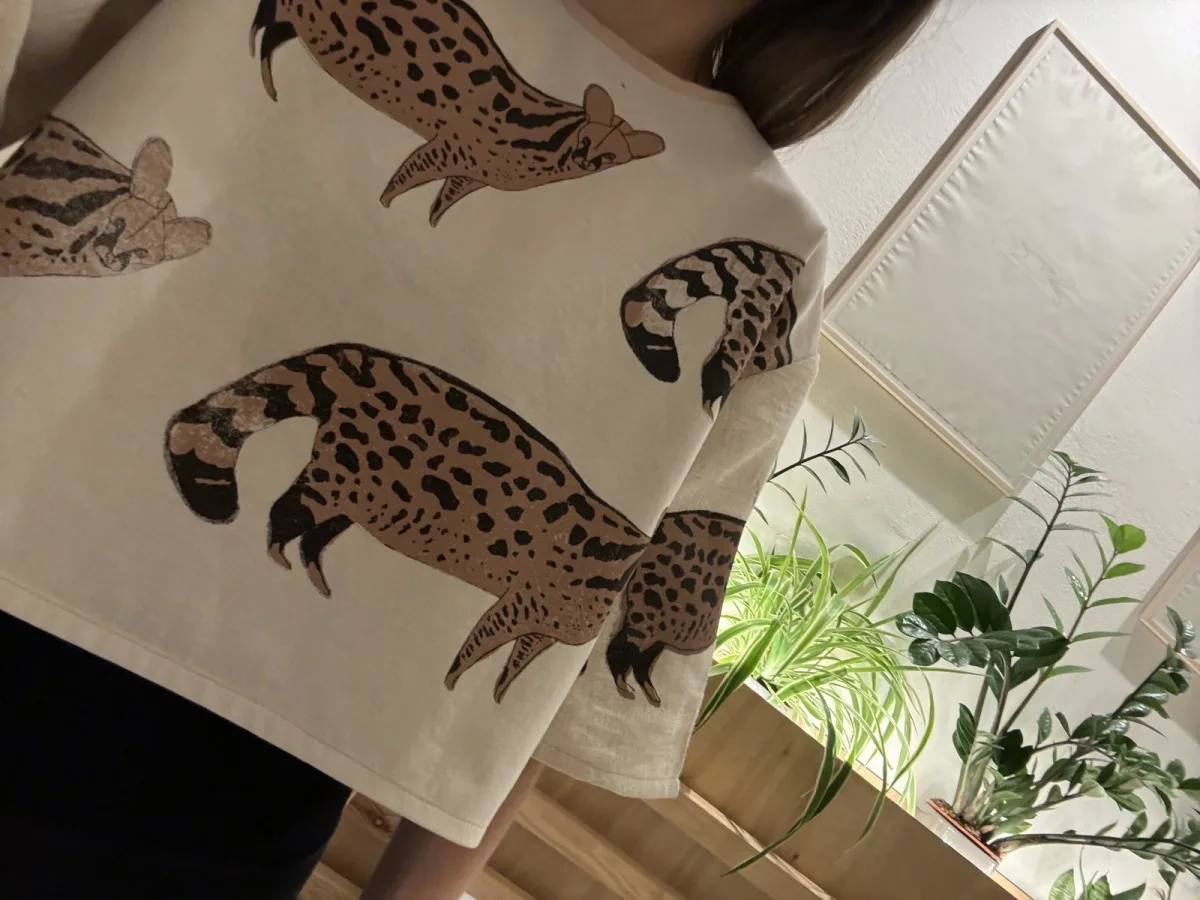
The finished top with civets
Done.
And straight on.